Free Crochet Baby Chicken Pattern

Are you searching for a festive project? Well, look no further! This adorable crochet Christmas baby chicken, complete with a cozy Santa’s hat, is exactly what you need! Moreover, it’s a FREE crochet baby chicken pattern! 🐣✨

This charming amigurumi chick can be crafted using any yarn you have on hand. Personally, I love to work with cotton yarn; that’s why I opted for a sport-weight cotton yarn with a 2.5 mm crochet hook for this project. The finished chick measures 3” (7cm) and makes for a delightful addition to your holiday decor.

By adjusting the hook size and yarn thickness, you can make a bigger or smaller chick. Just make sure you achieve a dense fabric to prevent any stuffing from peeking through. With everything worked in single crochet, in continuous spirals, this is an easy crochet project that can be finished in no time! ✨

Crochet chick and Santa's hat laying beside.

Materials needed to make the chick

– 2.5 mm crochet hook
– yellow, red and white (novelty) yarn
– soft stuffing
– a pair of little black eyes
– scrap of orange felt for beak
– orange embroidery thread
– long tapestry needle, scissors and sewing pins

Abbreviations

ch – chain
yo – yarn over
sc – single crochet
st – slip stitch
sc2tog – single crochet decrease
st(s) – stitch(es)
rd – round

Beginning to crochet baby chicken with magic ring
The body of amigurumi baby chicken finished.

Head and body

Beginning at the top of the head and working down the body.
With magic ring and yellow yarn (Image 1)

Rd 1: 5 sc into the center of ring (5)
Rd 2: 2 sc in each st around (10)
Rd 3: (Sc in next st, 2 sc in next st) around (15)
Rd 4: (Sc in next 2 sts, 2 sc in next st) around (20)
Rd 5: *(Sc in next 3 sts, 2 sc in next st) around (25)
Rd 6: *(Sc in next 4 sts, 2 sc in next st) around (30)
Rd 7 – 10: Sc in each stitch around (30)

Decrease:
Rd 11: (Sc in next 4 sts, sc2tog) around (25)

Increase again:
Rd 12: (Sc in next 4 sts, 2 sc in next st) around (30)
Rd 13: (Sc in next 5 sts, 2 sc in next st) around (35)
Rd 14-17: Sc in each stitch around (35)

Start decreasing:
Rd 18: (Sc in next 5 sts, sc2tog) around (30)
Rd 19: (Sc in next 4 sts, sc2tog) around (25)
Rd 20: (Sc in next 3 sts, sc2tog) around (20)

Stuff!

Rd 21: (Sc in next 2 sts, sc2tog) around (15)
Rd 22: (Sc in next st, sc2tog) around (10)

Cut the yarn and pull it through the last loop. Weave the tail through the front loops of the remaining 10 scs and pull it tight to close. (Image 2)

Crochet baby chicken with felt beak and eyes added.

Attach the eyes 6 stitches apart, between rounds 9 and 10 of the head. With yellow yarn, insert the needle through the top of the head, then through the first plastic eye, back through the eye to the second plastic eye and back to the top of the head. Pull the yarn ends and knot to secure. Re-thread the needle and insert it into the same hole to hide the yarn ends.

Now, for the beak, start by cutting out a small circle from orange felt. Fold it in half and gently press it with your fingers. Using orange embroidery thread, stitch the beak to the head, ensuring it’s centered between the eyes and positioned one round below. Once secured, knot the thread to ensure stability and tuck the ends neatly inside the body. (Image 3)

Wings for baby chicken are finished and sewed to the body.

Wings – make 2

With magic ring and yellow yarn:

Rd 1: 5 sc into the center of ring (5)
Rd 2: 2 sc in each st around (10)
Rd 3: (Sc in next st, 2 sc in next st) around (15)

Sl st in next stitch, and cut the yarn leaving the tail long enough to sew wings to body.

Repeat the same steps to make another wing. Then, proceed to sew the upper half of the wings to the body. (Image 4)

Your crochet baby chicken is nearly complete. Let’s add some red boots and a Santa’s hat to make it look festive.

Feet crocheted and sewed onto baby chicken's body.

Boots

With magic ring and red yarn:

Rd 1: 5 sc into the center of ring (5)
Rd 2: 2 sc in each st around (10)
Rd 3: (Sc in next st, 2 sc in next st) around (15)
Rd 4 – 6: Sc in each st around (15)
Rd 7: (Sc in next st, sc2tog) around (10)
Rd 8 & 9: Sc in each st around (10)

Fasten off leaving long tail for sewing. Attach boots to the bottom of the body. (Image 5)

Santa's hat is crocheted and set aside.
Crochet baby chicken with Santa's hat on the head.

Santa’s Hat

Starting from top of the hat, with red yarn:

Rd 1: Chain 2, 3 sc in second chain from the hook (3)
Rd 2: 2 sc in each st around (6)
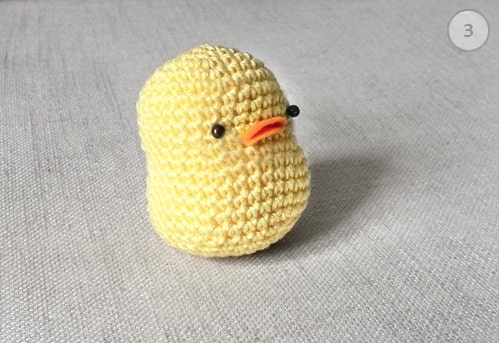
Rd 3: Sc in each stitch around (6)
Rd 4: (Sc in next st, 2 sc in next st) around (9)
Rd 5: Sc in each stitch around (9)
Rd 6: (Sc in next 2 sts, 2 sc in next st) around (12)
Rd 7: Sc in each stitch around (12)
Rd 8: (Sc in next 3 sts, 2 sc in next st) around (15)
Rd 9: Sc in each stitch around (15)
Rd 10: (Sc in next 4 sts, 2 sc in next st) around (18)
Rd 11: Sc in each stitch around (18)
Rd 12: (Sc in next 5 sts, 2 sc in next st) around (21)
Rd 13: (Sc in next 6 sts, 2 sc in next st) around (24)
Rd 14: Sc in each stitch around (24)
Rd 15: (Sc in next 7 sts, 2 sc in next st) around (27)
Rd 16: (Sc in next 8 sts, 2 sc in next st) around (30)
Rd 17: (Sc in next 9 sts, 2 sc in next st) around (33)
Rd 18: Sc in each stitch around (33) Change color to white in last stitch.
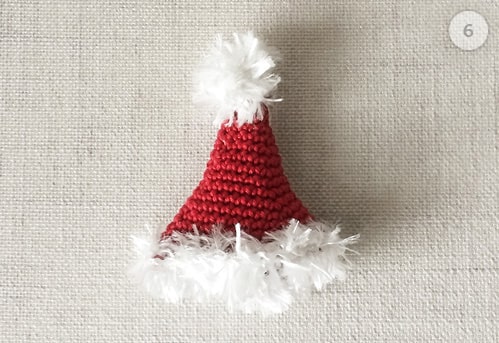
 TIP: Use some novelty yarn for white border.

Rd 19: Sc in each stitch around (33)

Fasten off!

To make a small white ball for the tip of the hat, with magic ring and white yarn:
Rd 1: 5 sc into the center of ring (5)
Rd 2: 2 sc in each st around (10)
Rd 3: Sc in each stitch around (10)
Rd 4: (Sc in next st, sc2tog) around (5)

Cut the yarn and pull it through the last loop. Weave the tail through the front loops of the remaining 5 scs and pull it tight to close. Attach the white ball to the tip of the hat. (Image 6)

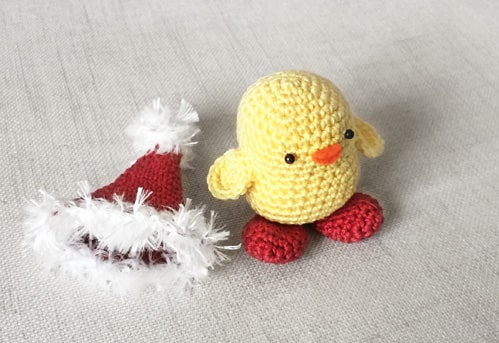
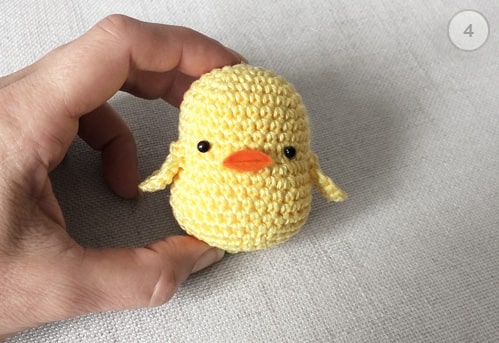
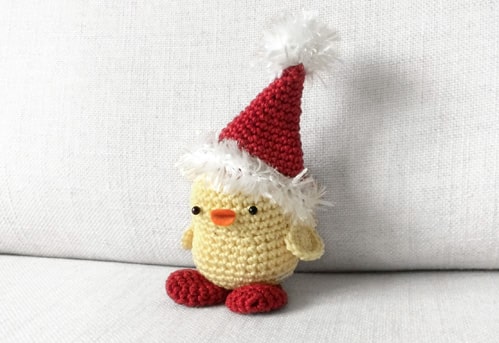
And your little chick is finished! 🐣

S u b s c r i b e   to
Pepika Newsletter

Join our community of amigurumi lovers and stay up-to-date with the latest amigurumi designs, free patterns, and exclusive discounts.